Designer-speak

After the A-List designer on Divine Design visits with the woebegone owners of her next Make-Over, she treks back to her office to critique and create.

She smiles into the camera and chats with the crowd about her choices while filling a basket with samples and swatches. When it is about full, she confidently pats the pile and announces she’s really to roll.

I can dig it.

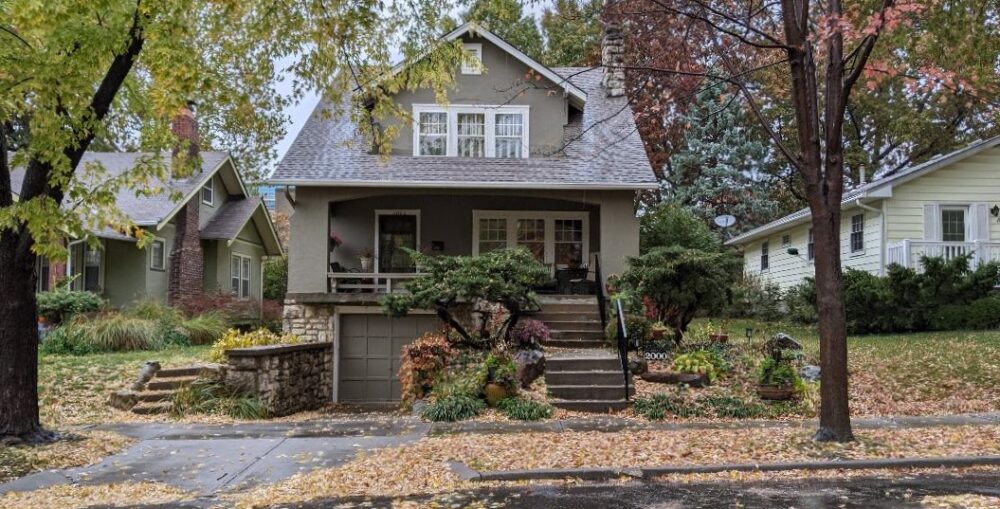
Twenties era kitchens are often times decked out in a richly hued green, red and grey color scheme. A deep cream is a popular trim choice. In this house, a bordered linoleum (red and black) was still on the floor in the early eighties along with a red formica counter top.

Along the way, linoleum gave way to refinished maple (destroyed by a giant Airedale), and then a black and white checkered vinyl. In a bold move, a black formica counter top replaced the red.

I decide to keep the original colors but crisp ’em up. Here’s my design basket.

The walls are green and gray (green on the kitchen walls, gray in eating nook and side hall); the windows and trim are white, the cabinetry is eggshell; the floor is graphite, gray and cream marmoleum; the splashboard is glazed white subway tile; the countertop is a honed quartz that looks like a grayed marble; and the appliances are stainless steel.

Red is the accent. And I think it’s final.
Kitchen Make-Over

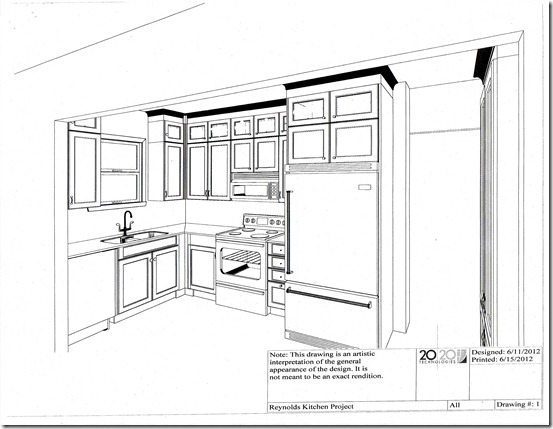
Pam Vernon, Classic Kitchens in Leawood, KS, didn’t waste any time coming up with a plan. She eliminates the tight U space in front of the sink by pushing the dishwasher all the way back to the wall. Counter space expands when the refrigerator changes places with the range. A counter –depth side by side refrigerator gives more room to maneuver.

IMG

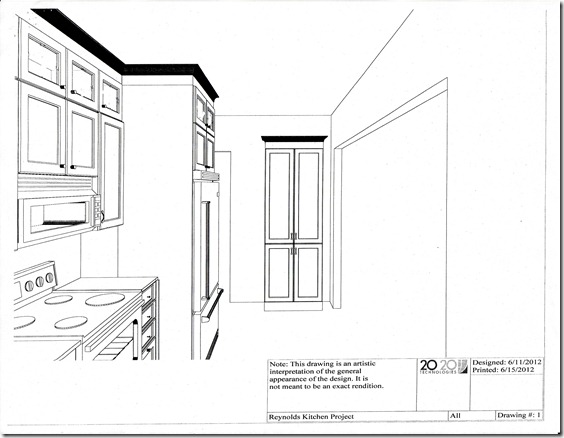
Cabinets go to the ceiling and a built-in cupboard to the left of the doorway keeps  appliances close but hidden. Trays and platters stand upright in the cupboard above the refrigerator. A rectangular counter-high butcher block table multi-tasks as a work surface and a dining spot in the nook.

IMG_0002

A swing out shelf close to the stove makes use of the lower space in the corner. The top cabinets have glass fronts and inside lights. The microwave has a range hood and the range has an electric induction cooktop and a convection oven. All of the appliances are stainless steel.

IMG_0003

The sink is a double basin white porcelain model and there’s glazed white subway tile on the wall. There are under-cabinet lights, canister recessed lights, a light over the sink, a ceiling light and lights in the eating nook and in the hall. Right, there is no such thing as too much light in a kitchen.

IMG_0004

Wowsa. It was exactly what I had in mind. Oh, and the trash – two skinny stainless steel containers fit nicely up against the wall.

Requiem for a Kitchen

Where does the time go? It seems like only yesterday when I announced that we were undertaking a kitchen remodel. Lo and behold, the post is dated March 22, 2010. Hmmm.

Truth be known the kitchen rehab officially started July 23, 2012. Here is a refresher look at what it looked like March 22 and … July 22nd,  two years later.

Kitchen Before 003aKitchen Before 008a

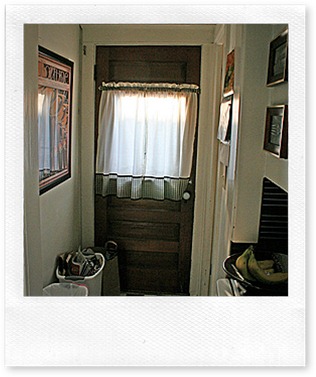
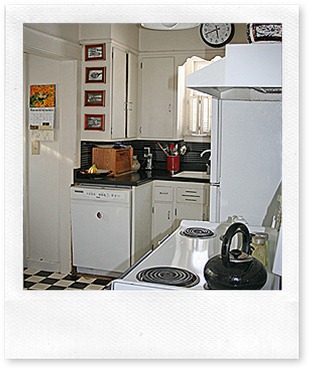
Here is the side door with a look at our recycling center sitting right in front of a door to a tiny bathroom.  Next is the view from hallway, note the useless base corner cabinet and the cramped u-shape working space in front of sink.  The jaunty wall calendar is a multi-purpose office and message board.

Kitchen Before 004aKitchen Before 011a

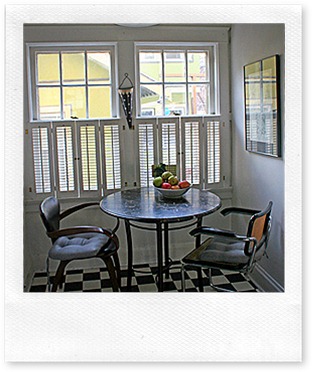
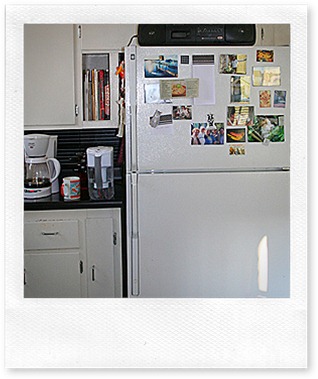
This is the breakfast nook which is across from the stove. The marble top table is useful for rolling out pie crusts which I have never done. The un-matched chairs not only take up far more than their fair share of space, surprisingly they are not even comfortable.  The refrigerator sits companionably close to the stove without so much as an inch of counter space between.  The top cabinets are a little more than a foot above the counter leaving barely enough room for the coffee maker.Kitchen Before 006

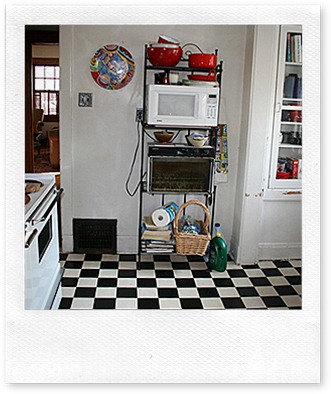
Pivot at the refrigerator/stove combo for a look back down the hall and into the living room. The baker’s rack cost $22.95 from a gigantic furniture store probably 40 years ago. Here it masquerades as a cooking station and storage center.

Here are the ground rules. Keep the original footprint of the kitchen.  Let the brick chimney and laundry chute behind the stove stay put. Preserve the mid-century look and feel. Counter space, storage and work flow are important.

Oh, and let’s do something about that trash center.